


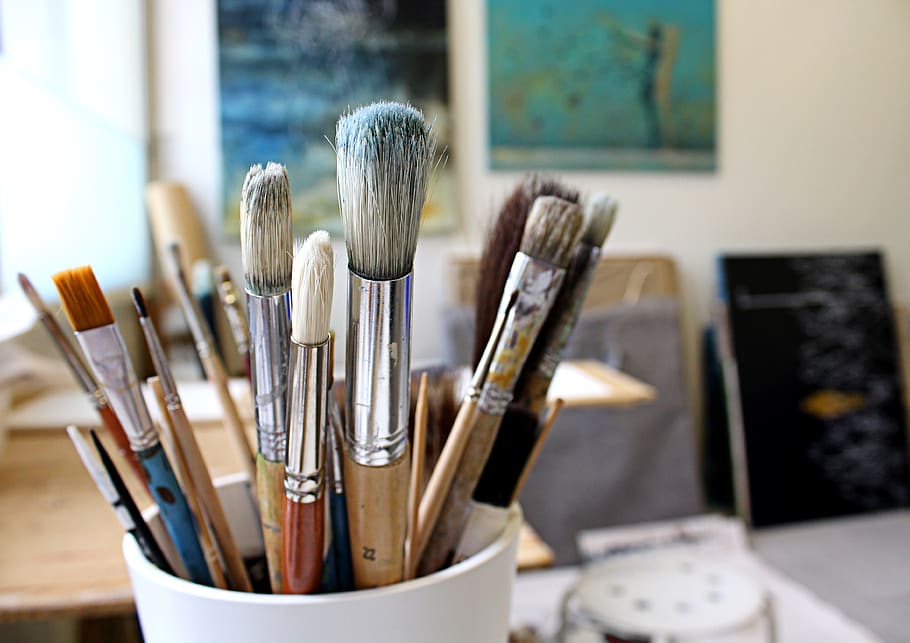
What is the best way to clean acrylic paint brushes?
Nothing is more frustrating than starting a new acrylic artwork only to discover that your paintbrush is stiff by acrylic paint! Dried acrylic paint is notoriously difficult to remove, even for the most skilled acrylic artists. Cleaning brushes suck into your painting time! It’s no mystery that most of us desire to spend a lot time painting as possible. Brush cleaning may appear to be a hassle, but you can save time and have more time to paint by streamlining the procedure.
Cleaning and general upkeep of your brush should be a priority from the minute you pick it up. It’s also something that you should think about while you’re painting and after you’ve finished. As a novice, purchasing a large selection of acrylic brushes would be one of the more expensive investments you make. The last item you need is for it to harden and become useless.
Is it necessary to have an acrylic brush cleaner?
Some artists use whatever soap they can find to cleanse their brushes and other painting utensils. Most of the time, this is just regular dish detergent or hand soap. While all these soaps wash brushes to some extent, they won’t leave them as clean or as well as a professional brush cleaner. Brush cleaning is usually recommended to prolong the professional career of your bristles as much as possible. Brush cleaners for artists contain soothing oils & moisturizers that conventional soaps lack. Regular soap has a drying impact, specifically on real hair brushes. Art detergents will not only completely clean your brushes, but they will also care for them while doing so.
Brush cleansers and soaps for artists are available in liquid and solid versions. Unlike regular soap, artist soap cleans and maintains your painting instruments without drying them out. They contain moisturizers and oils that will nurture your brushes & keep their hair in tip-top shape for longer. Cleansing your meetings should aim to restore them to as close to their original state as possible. The most acceptable product for this is artist soap.
Read More: How To Check Septic Tank Is Full? What Is The Best Method For This
Step-by-step instructions for cleaning acrylic brushes
It’s critical to clean the brushes there at the end of each painting session, regardless of media. While painting with acrylics couldn’t be more crucial! Incorrectly cleaning your brushes can block them with dry paint that won’t come out with just water. Attempt to eliminate as much paint buildup from your meetings as feasible while painting. As a result, you’ll need to clean your brushes less frequently after your session.
- Water can be stored in jars, buckets, or pots. You’ll need at least three for comprehensive cleaning, one for the initial rinsing, one for soapy water, and one for clean water.
- Blot excess paint with a paper towel. Painter’s rags are a more environmentally friendly solution if you want to reduce trash.
- When your brushes are dry, use a brush washer and something to hold them upside down.
Method 1:
Step 1:
Make sure your cleaning area is ready. Having many water jars on hand is preferable to bumbling around dumping and replacing the same pots. Using a jar or container with each stage of production will ensure that you should always have safe drinking water for the final rinse. It will also be easier to dispose of your acrylic wastewater if you use a single bucket.
Step 2:
Remove any extra paint from the brush with a paper towel. Do this with a rag or a paper towel. With a gentle squeeze, work that out from the bottom of the ferrule to the brush tip if you’re using thick body acrylic or mediums. Getting rid of the remainder of the acrylic paint would reduce the number of paint compounds in your polluted water and reduce the likelihood of particles released into the water system.
Step 3:
Using tepid water, thoroughly rinse your brushes. Attempt to get rid of as much paint residual as possible. You might have to shake off extra water, blot, and rinse again to remove very stubborn paint. And use a brush tub with this preliminary cleaning is ideal because the irregularities on the tub can help release the color. Shake off any excess water once you’ve eliminated it as often as possible.
Step 4:
Twirl your brush into the soap and work up a gentle lather. To make lather, do not grind your bristles into the palms of your hand. Most companies advise avoiding it since it can cause pigment to penetrate the skin. Even though most paints are generally non-toxic, it’s advisable to be cautious while working with art materials that will come in touch with skin. Instead, produce lather by swirling the brush across a ridged surface. In a secondary tub of clean water, rinse your brush. Repeat the process until the foam is white, then blot away as soap residue as possible.
Step 5:
Rinse your brush in clean water one last time. Fill your third watering jar with entirely clean water. There must be minimal discoloration in the water after removing most of the paint and soap. Rinse till your brush is arid.
Step 6:
Allow drying after reshaping the brush tip. You can mold it gently with your fingers. Make sure you don’t twirl your brush too hard, or the hairs may be damaged. In your mouth, don’t try to manipulate your brushes. It’s critical to allow your brushes to dry in the proper orientation. The best solution is to dry them with the brush point facing down.
Is it possible to use an Acrylic Brush Cleaner?
Often, artists use the first soap they find to clean their brushes and other painting tools. The most common choice is dish soap or hand soap. Although these soap clean brushes to a certain degree, they will leave them as clean as a dedicated brush cleaner. To extend the life of your meetings as much as possible, it is always recommended using brush cleaners.
Brush cleaners for artists contain oils and moisturizers that regular soaps do not. Regular soap can dry hair brushes, especially those made of natural hair. When you clean your brushes with art soaps, they will not only be thoroughly cleaned but also cared for.
Conclusion
Due to this, any remaining water will flow into the hair instead of into the ferrule. Water in the grommet will cause the adhesive to deteriorate, causing the inches to fall out over time. Water can also seep through the hardwood brush handle, expanding it. The paint & finish on the handle will crack due to this. If you can’t dry your paintbrush upside down, the next most significant thing is to lay them horizontally.